
Balayage tools support placement, but the sectioning plan creates the visual result. Brush width, board support, clips and separation materials should match the panel size and the amount of diffusion or saturation required.
Consistent color application depends on organized tools, accurate mixing and clean sectioning. Bowls, tint brushes, clips, measuring tools and protective accessories each solve a specific part of the workflow and help the colorist apply product with control.
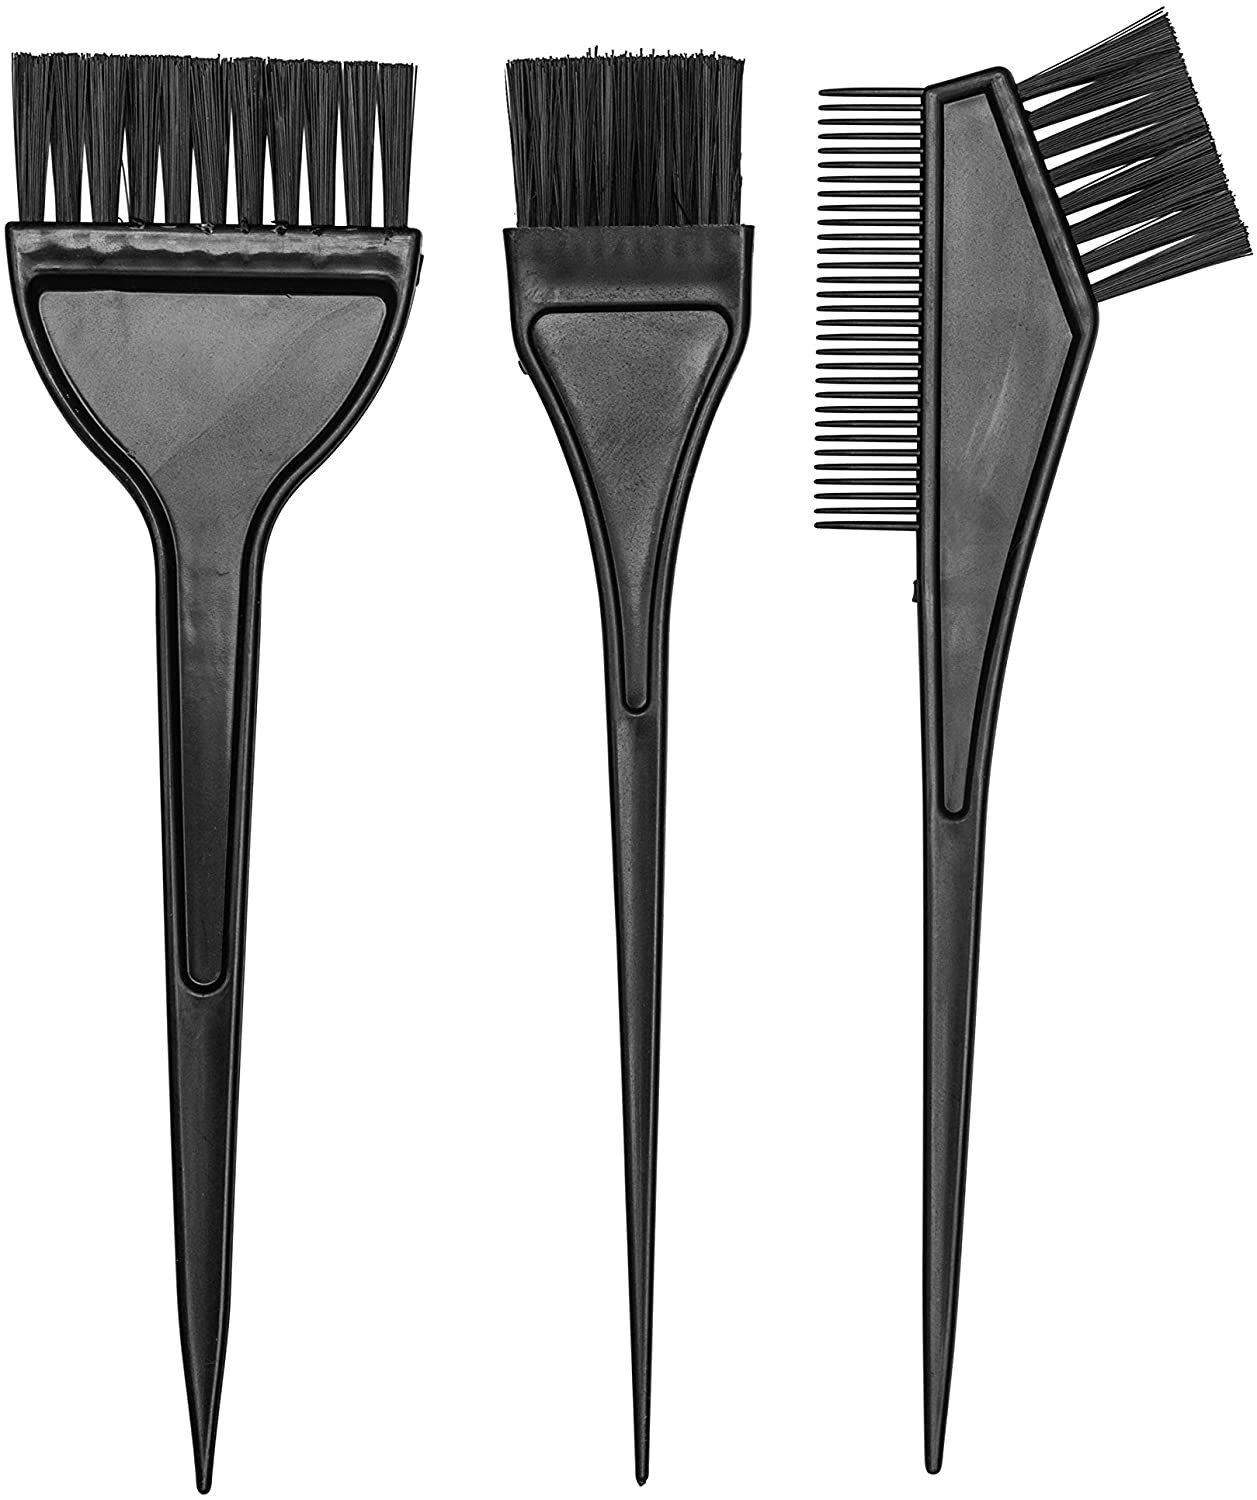
What to Consider Before Using Balayage Tools
- A firm board or paddle can support tension and product saturation on selected panels.
- Brush width should fit the section so the colorist can feather or saturate without repeated uncontrolled strokes.
- Clips and separators must keep completed sections clean while preserving the intended pattern.
Step-by-Step Balayage Tools Workflow
- Map the placement according to haircut shape, natural fall, density and the brightness planned around the face.
- Prepare bowls, brushes, boards and separation materials before mixing the lightener or color.
- Paint with controlled pressure, using the brush edge for diffusion and the bristle face where deeper saturation is needed.
- Secure and separate the panel without smearing neighboring hair, then record placement details for consistency.
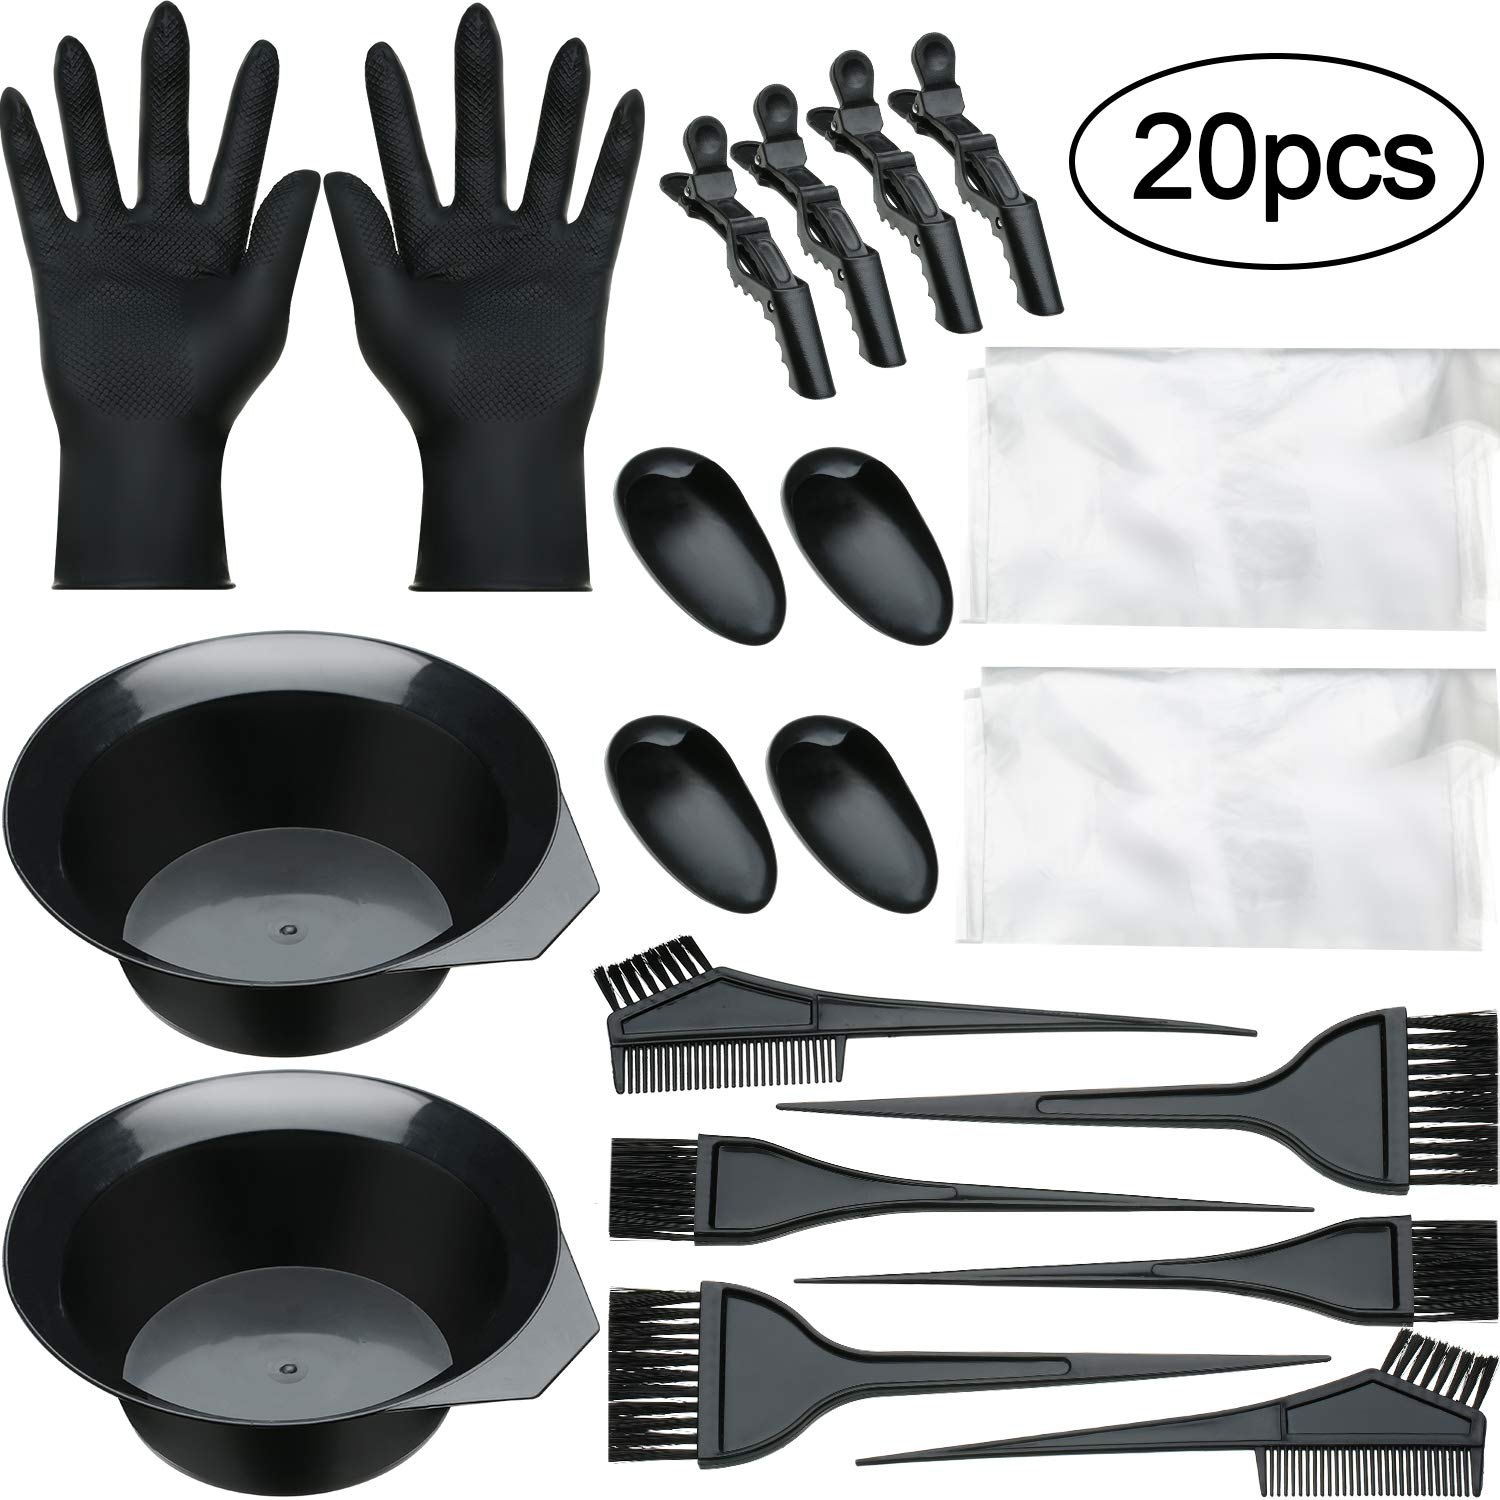
Tool Examples from the Hair Salon Tools Collection
The collection includes 7pcs Hair Dye Color Brush and Bowl Set (PG1068) and 20 Pieces Hair Dye Brush and Bowl Set (PG1005). Use the product dimensions, materials and included pieces to decide whether a tool fits the technique described above.
How to Evaluate the Finished Result
After completing the balayage tools workflow, evaluate the result in natural fall and from more than one angle. The first checkpoint is whether a firm board or paddle can support tension and product saturation on selected panels. Also confirm that brush width should fit the section so the colorist can feather or saturate without repeated uncontrolled strokes. Repeat the final check described in the workflow: Secure and separate the panel without smearing neighboring hair, then record placement details for consistency. If the result is inconsistent, change one variable at a time instead of adding more force, heat or product.
Buying and Station Setup Checklist
Before adding a tool to a professional station, confirm its intended service, material compatibility, grip, cleaning method and storage requirements. For this topic, give particular attention to the following point: Clips and separators must keep completed sections clean while preserving the intended pattern. Check the product listing for dimensions and included pieces, then compare those details with the section sizes and techniques used most often. A useful salon tool should make the process more repeatable, remain easy to inspect and fit naturally into the clean-to-used workflow.
Common Mistakes to Avoid
- Choosing sections wider than the board or brush can support evenly.
- Using the same pressure from the blend area through the ends, creating a hard line instead of diffusion.
- Allowing clips or neighboring panels to shift completed placement during processing.
Cleaning, Maintenance and Salon Hygiene
Inspect tint-brush bristles for spreading, hard residue or loose fibers. A damaged edge makes precise root application and clean saturation more difficult.
Balayage Tools FAQ
Is a balayage board always necessary?
No, but it can provide support and visibility for certain section sizes, densities and saturation goals.
What brush is best for balayage?
Choose a brush width and bristle firmness that allow both feathering and saturation for the planned panel.
How do clean sections improve balayage?
They make placement predictable, protect negative space and help the colorist repeat the pattern across the head.
Final Takeaways
Balayage becomes more repeatable when sectioning, support and brush pressure are planned together. Organize tools before mixing so placement can continue without interruption.